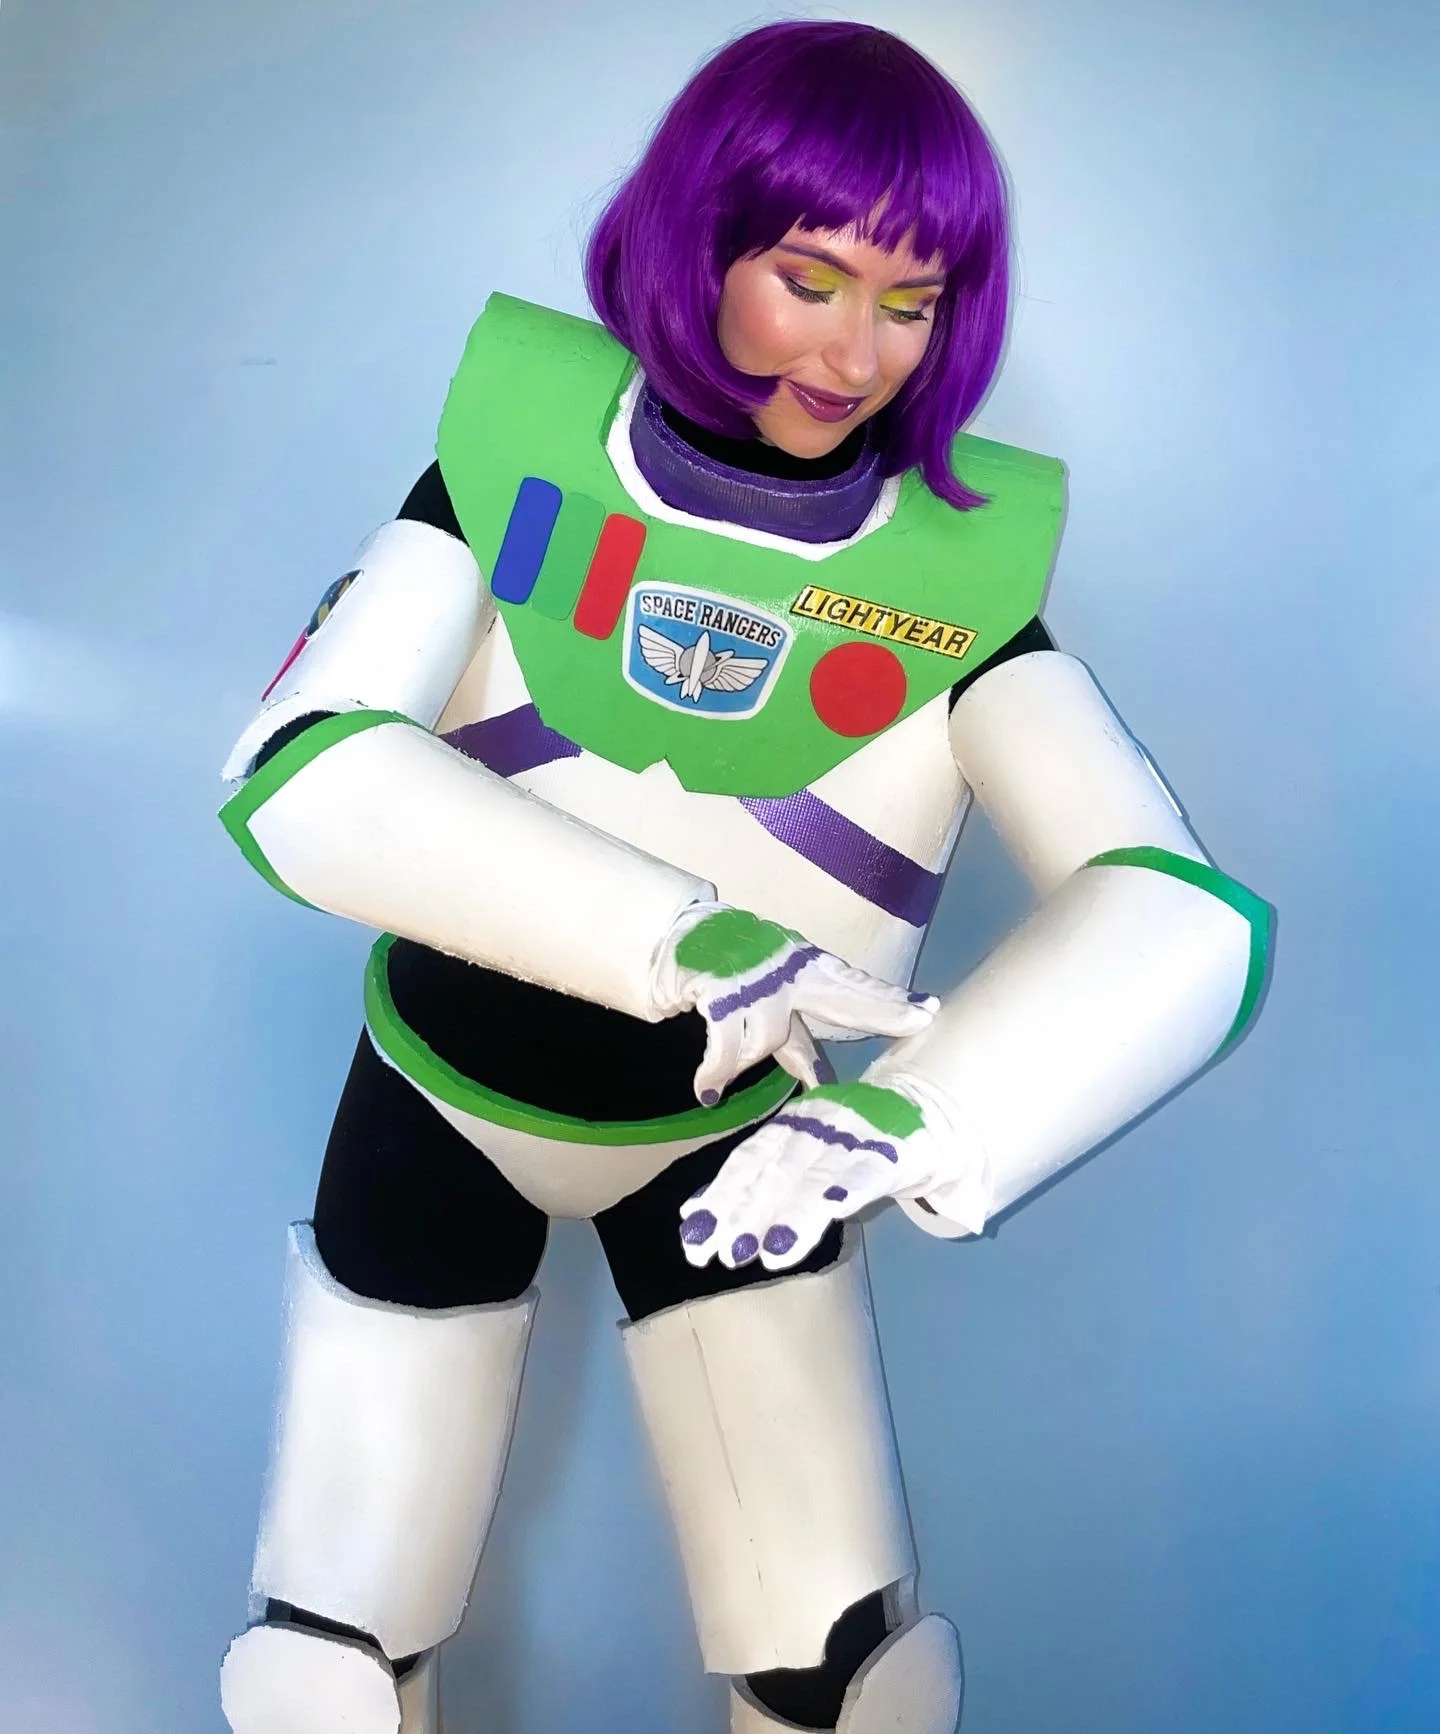
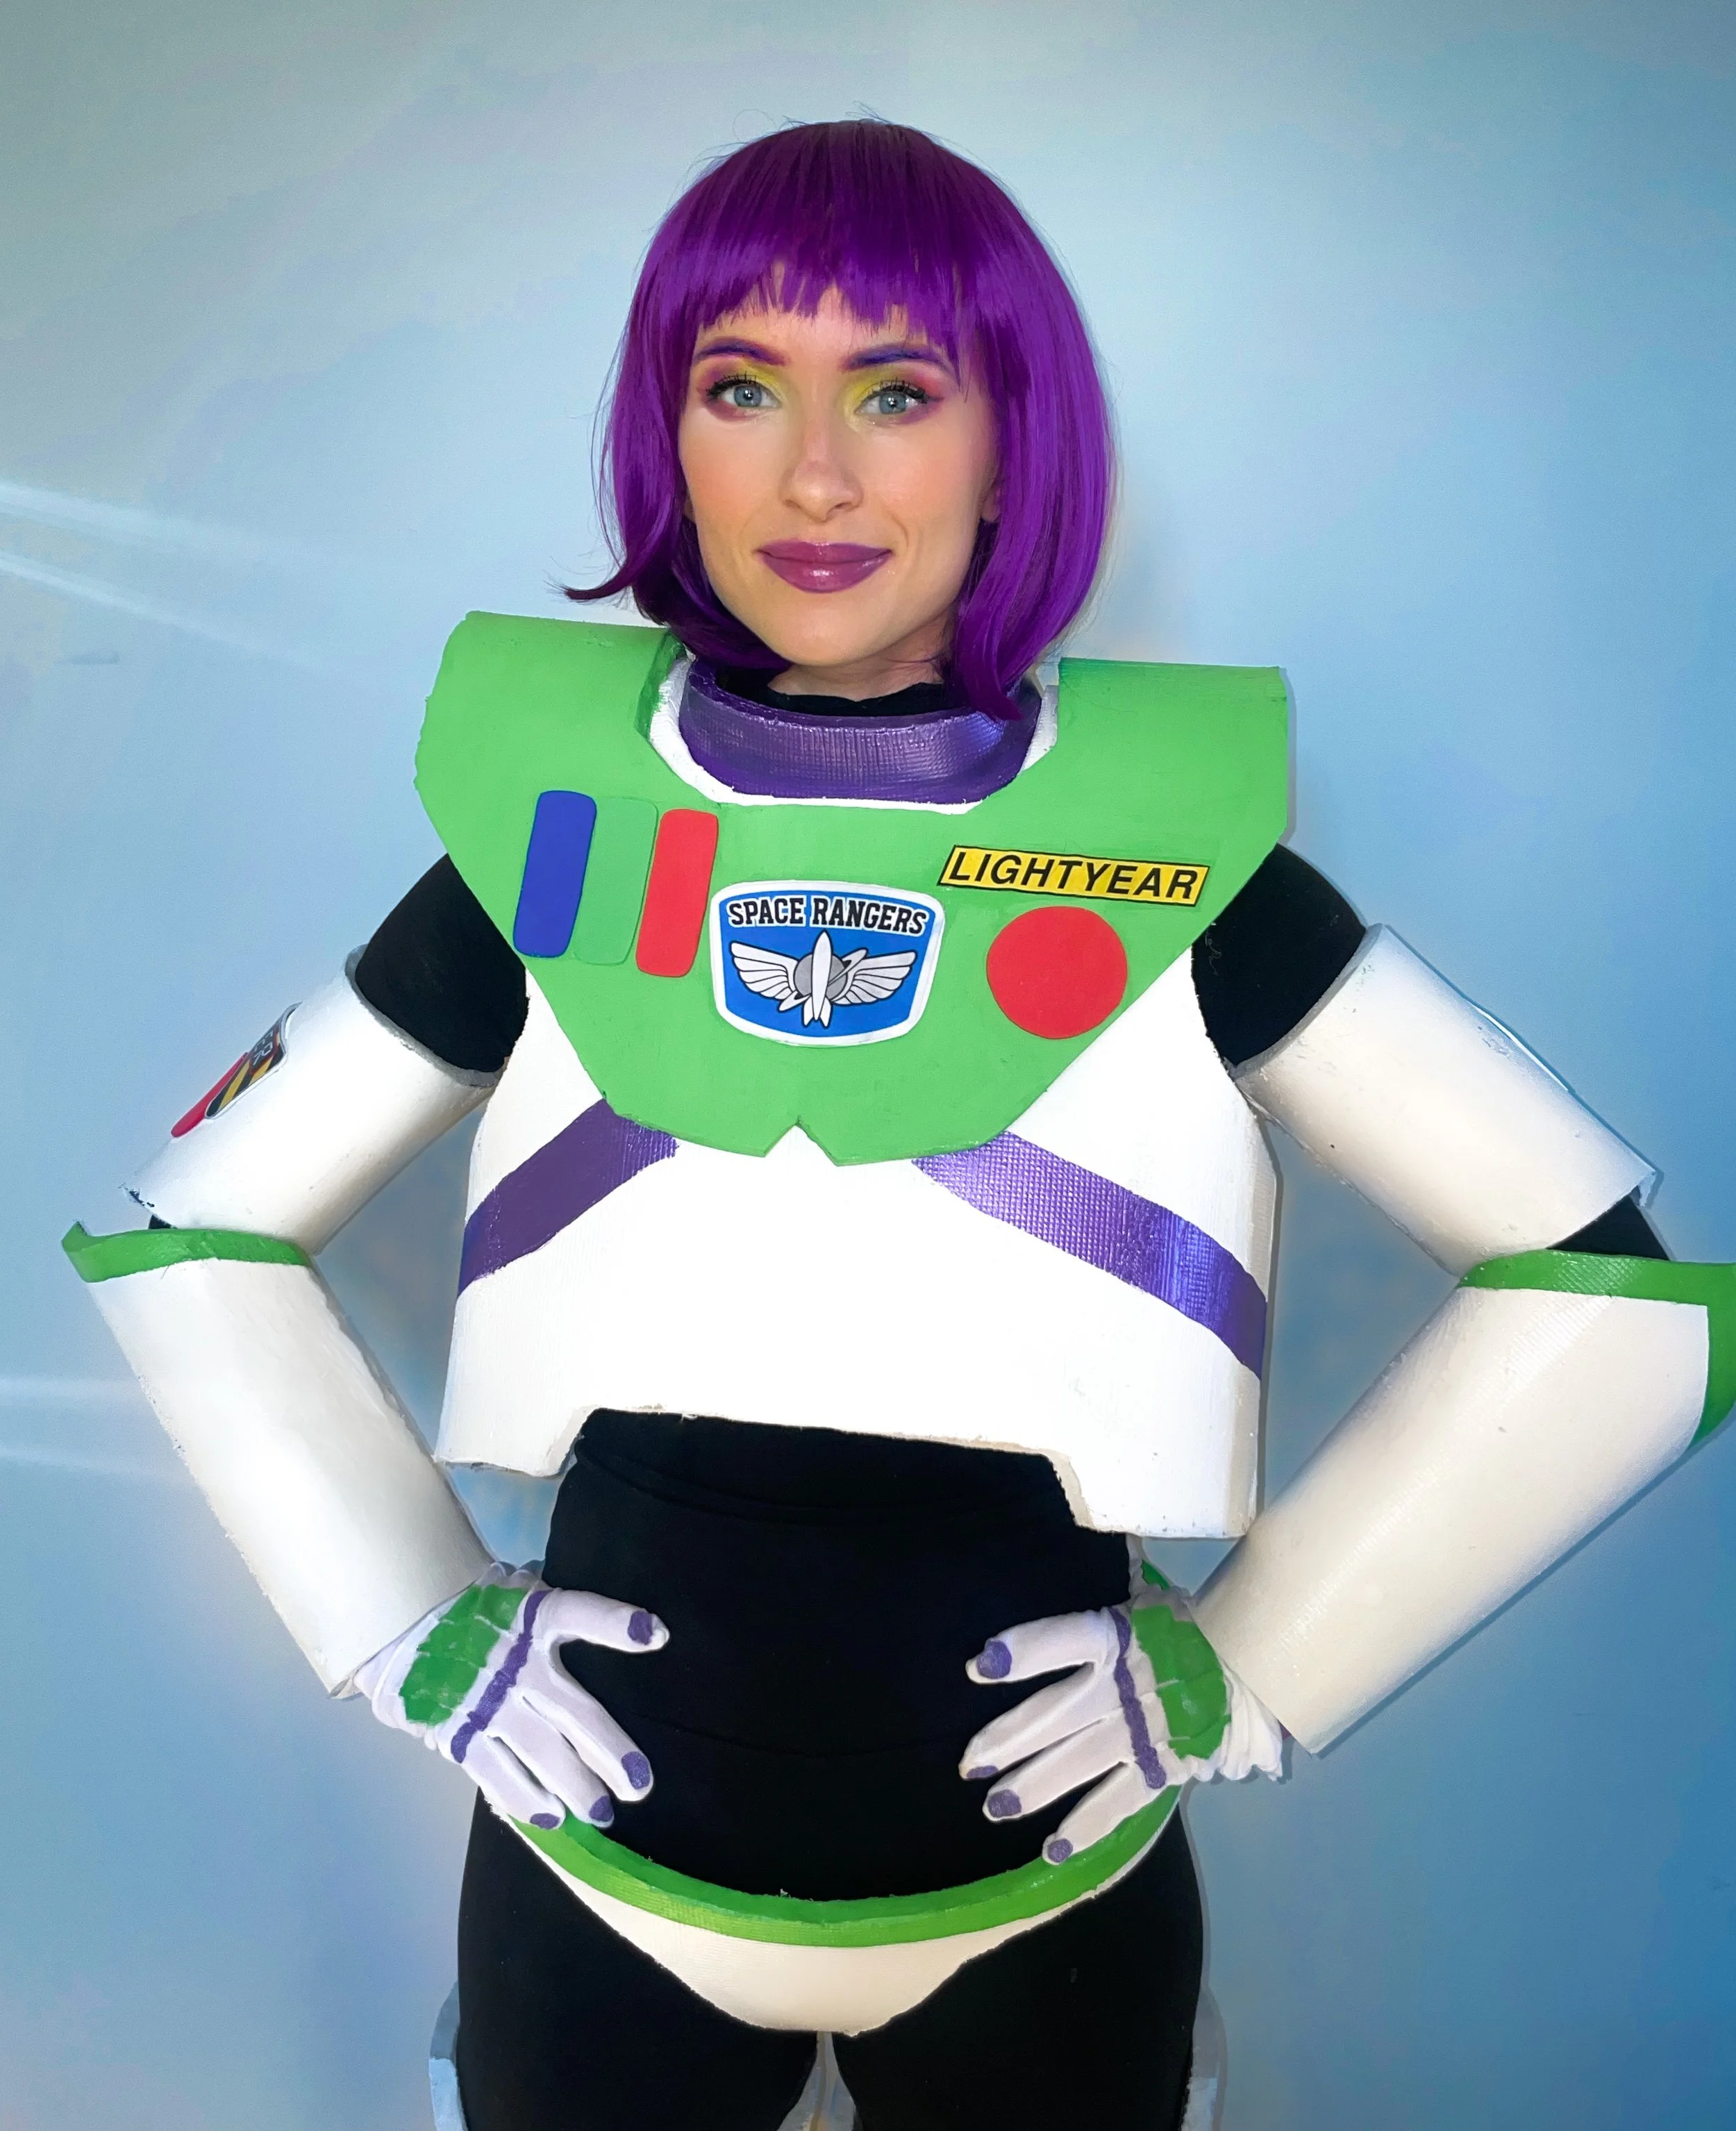
Buzz Lightyear
A Buzz costume intrigued me because I had never made such a structured costume as a space suit. I wanted the challenge! Though I was up against the clock (painting an hour before go time) and wish I’d added a few finishing touches (painting the underneath side of the suit that shows when angled!! ugh!), I was pretty happy with it!
Steps
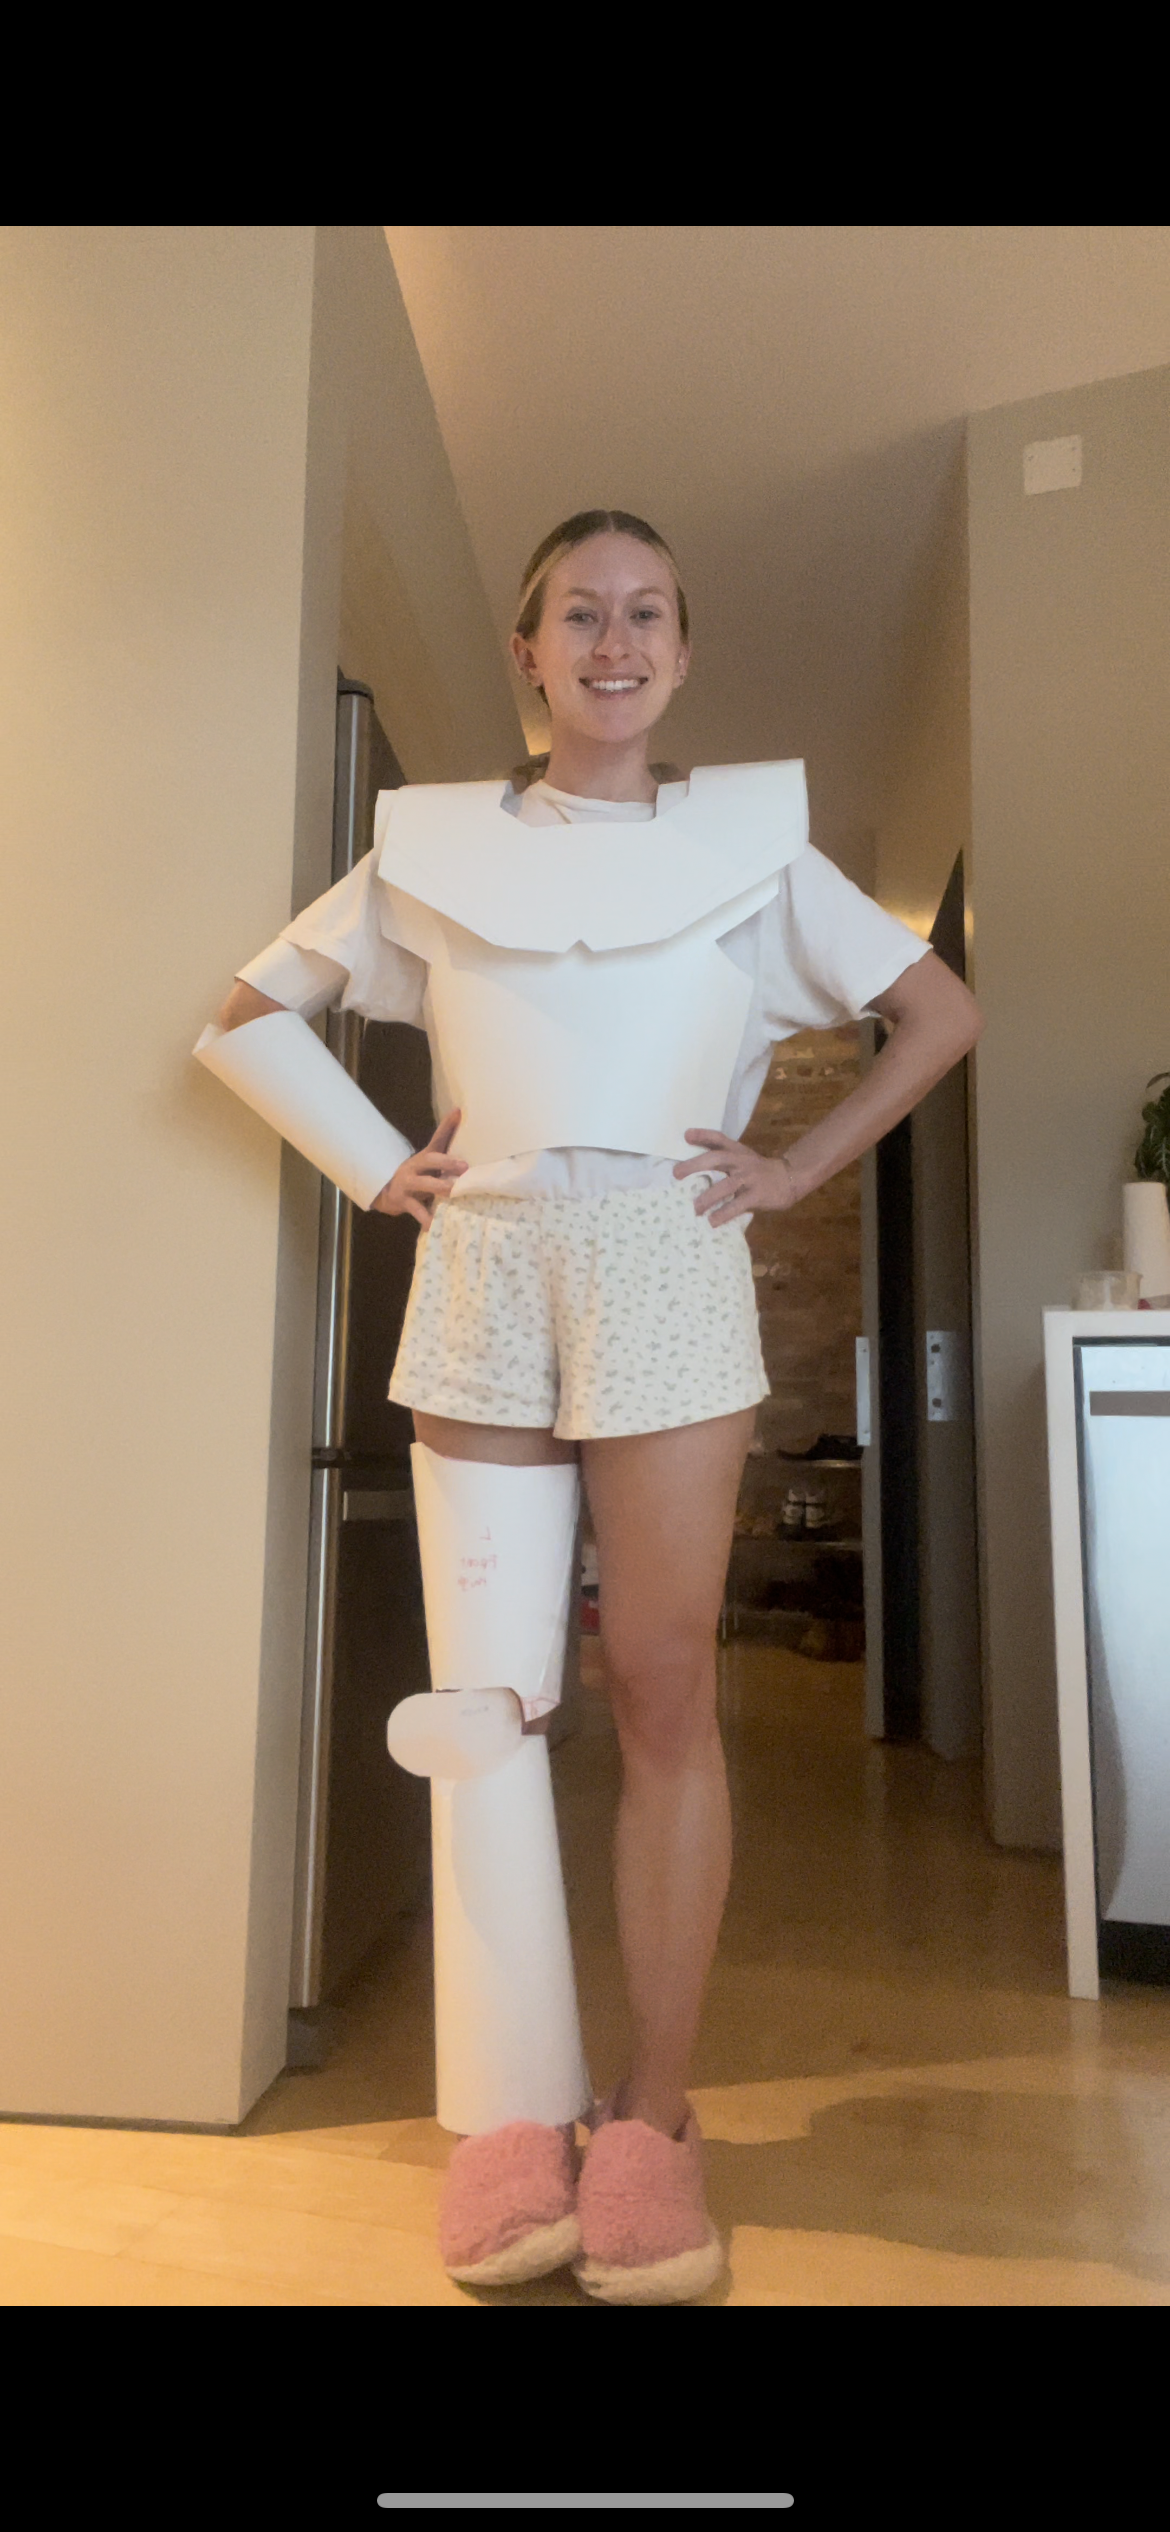
1. Make prototype in paper
I made a first draft by drawing from looking at images of Buzz’s suit and adjusting width and length using tape! It’s not a perfect science but you need to figure out sizing and ensure the pieces are wide enough to slide on and off.
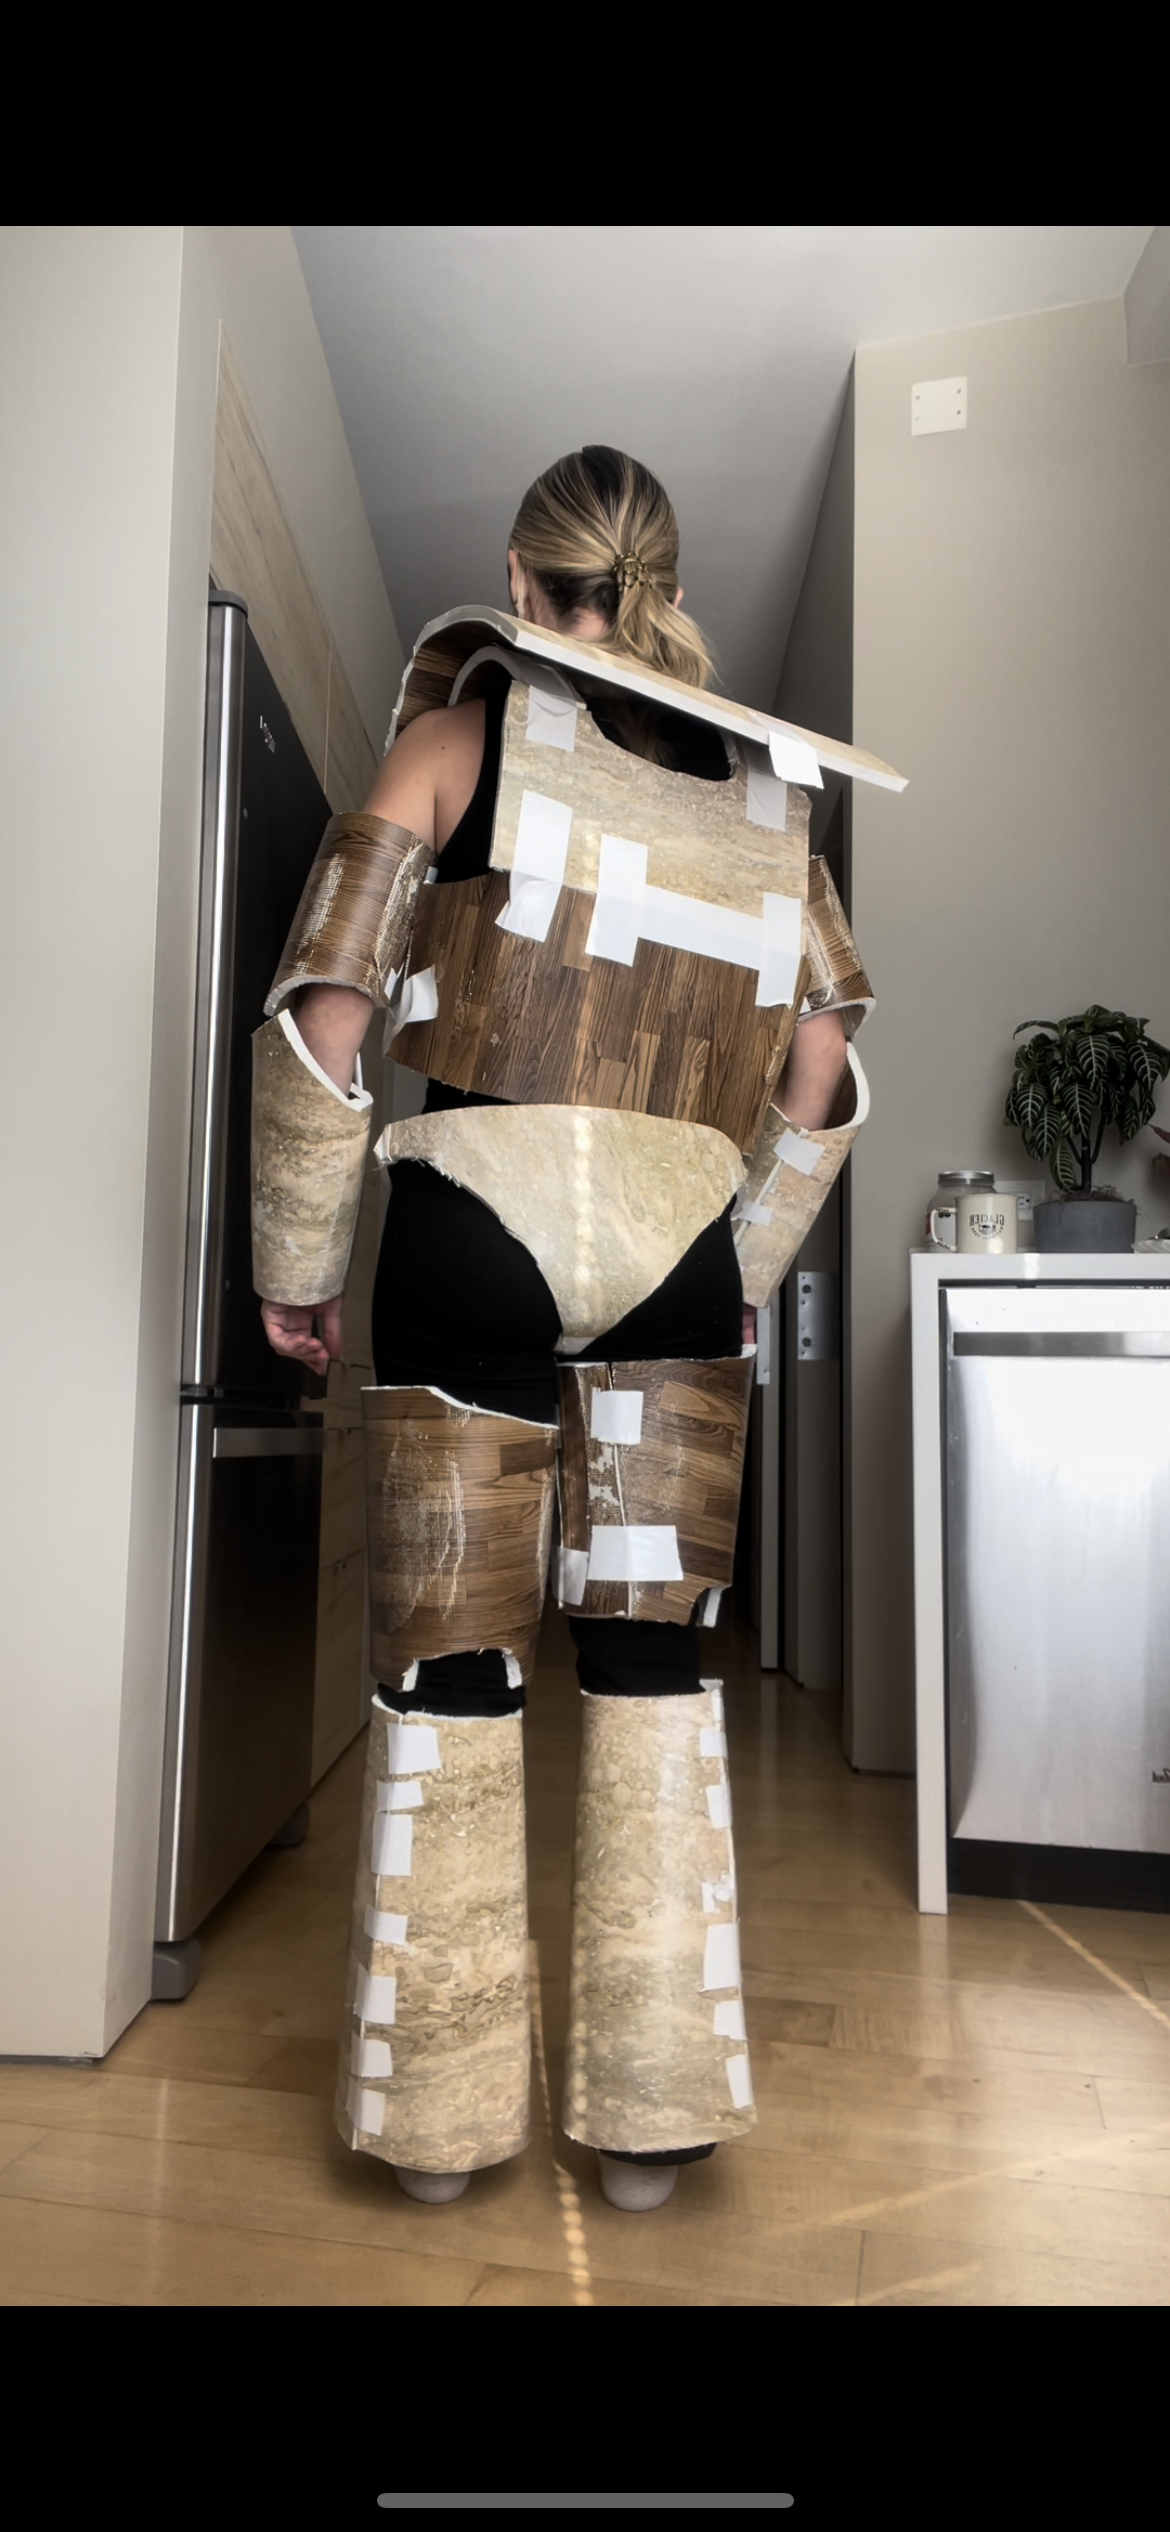
Trace patterns onto foam sheets. Add a minimum of 1 inch extra - the thick foam won’t mold as easily as the paper so you will lose some inches.
NOTE: My biggest regret was getting this foam that had a wood pattern film layer over it. I got it because it was cheaper, but the film layer would peel off in odd ways later on.
2. Cut, sand and spray paint foam
I cut the foam with a combo of scissors and an exacto knife. I will be honest - this was tough. Since this costume, I’ve learned of heat wands - I would absolutely use this instead next time. It just melts through foam and would’ve saved loads of time.
To mold the foam, I used an iron and covered it in film paper (you can buy at Joann’s) to protect it. Then I glued everything together with contact cement.
I used a Dremel to sand all of the edges and then spray painted everything white.


